If you’ve recently moved house, switched phone numbers, or updated your bank account, you’ll need to sync those changes to your online rummy account to avoid disruptions. Many players put off this task because they worry it’s complicated, or they don’t know what documents they need to provide. Knowing how to change personal details in Rummy Circle is a basic skill every regular player should have, as incorrect or outdated information can lead to frozen payouts, suspended accounts, or missed tournament entry approvals. It doesn’t take long to complete the process, as long as you follow the official steps and prepare the right materials ahead of time.
Pre-Checks Before You Change Personal Details in Rummy Circle
Before you log into your account to make edits, there are a few key things you need to sort out first. Rummy Circle follows strict KYC (Know Your Customer) rules to comply with gaming regulations, so all updates have to be verified against official government documents. You can only update details that match your legal identification, so you won’t be able to change your display name to a nickname, for example.
Step-by-Step Process to Update Your Rummy Circle Profile Details
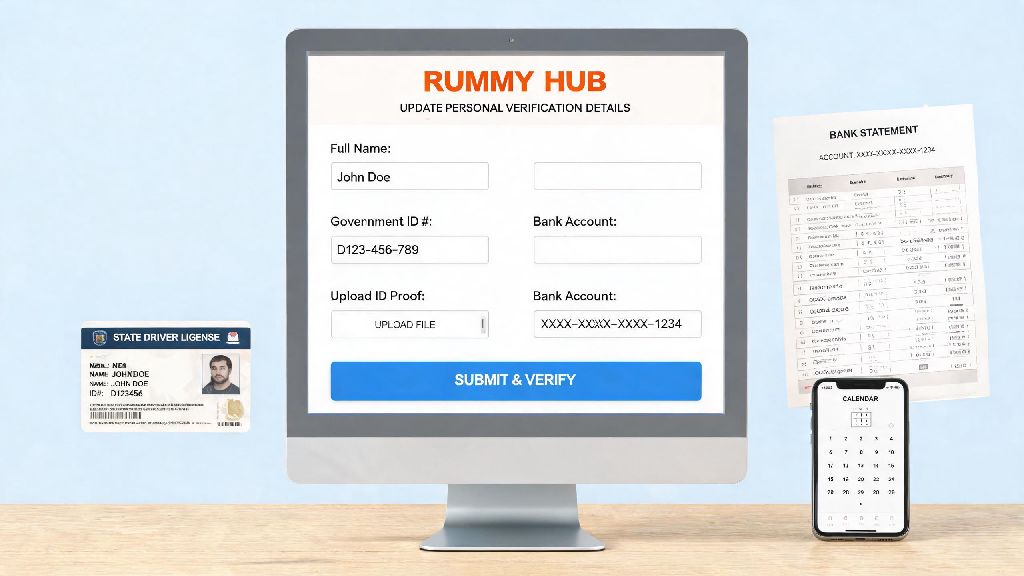
The update process is designed to be simple and secure, so you don’t have to spend more than 5 minutes submitting your request once you have your documents ready. First, open the Rummy Circle app or log into the desktop site, and tap the user profile icon in the top right corner of your screen. Select “Manage Account” from the dropdown menu, then choose the specific field you want to update from the list of available options. If you’re updating your phone number or email address, you’ll first get an OTP on your existing registered contact to confirm you are the account holder. Enter that OTP, then input your new phone number or email, and enter the second OTP sent to the new contact to confirm it belongs to you. Never share your OTP or account password with anyone claiming to be Rummy Circle support, as legitimate team members will never ask for this information directly. If you’re updating your address, name, or bank details, you’ll need to fill out the new information in the required fields, then upload the supporting document we listed earlier. Double check that all the information you entered matches the document exactly, even small typos like a misspelled street name can lead to your request being rejected. Once you submit the request, it will be reviewed by the KYC team, which usually takes 24 to 48 working hours to complete.
Common Mistakes to Avoid When Updating Your Account Information
Most delayed or rejected update requests happen because of small, avoidable mistakes that players make when submitting their forms. One of the most common issues is uploading low-quality photos of ID documents, taken in bad light or with parts of the ID cut off. The KYC team can only approve requests if they can clearly read all the information on your proof, so take a minute to retake the photo if it’s not clear before you submit. Another frequent mistake is trying to update bank details that belong to a family member or friend, instead of an account in your own legal name. All updates must match your official government documentation to comply with anti-fraud rules, so any request with third-party bank details will be rejected immediately, and may even lead to a temporary account flag. So many players also make the mistake of submitting multiple update requests for the same detail in a short period of time. Each request goes into a queue, so sending duplicates just pushes your original request further back, and increases the chance of confusion for the review team. Wait at least 48 hours before following up on a pending request, unless you get a rejection notification first.
What to Do If Your Detail Change Request Gets Rejected
Getting a rejection notification doesn’t mean your account is in trouble, it almost always means you just need to fix a small issue with your submission. First, open the notification in your account messages or the email you received, it will clearly state the exact reason for the rejection. Common reasons include mismatched information between your form and document, expired ID proof, or missing details on your uploaded file. If your request was rejected because of a blurry document, rescan or rephotograph the ID in natural light, making sure all four corners are visible and all text is easy to read. If the issue is a name mismatch between your bank account and your registered KYC name, you’ll need to either update your KYC name first with a legal name change document, or use a different bank account that is registered under your current legal name. Do not create a new account to bypass a rejected update request, as having multiple accounts is a direct violation of Rummy Circle’s terms of service, and can lead to both your old and new accounts being permanently banned. If you can’t figure out why your request was rejected, reach out to the in-app support team with a screenshot of the rejection notice, and they will walk you through the steps to fix it. You will be notified via email and SMS once your update request is approved, so you don’t have to log in repeatedly to check the status.
Updating your account information doesn’t have to be a stressful process, as long as you prepare your documents ahead of time and follow the official steps. Taking a few extra minutes to double check your submission will save you days of waiting for rejections and resubmissions later on. Knowing how to change personal details in Rummy Circle correctly will also help you avoid common issues like delayed tournament payouts, locked withdrawal access, or unnecessary account flags. I keep a folder on my phone with clear scans of my ID, address proof, and bank passbook just for these updates, and it cuts the whole process down to less than 5 minutes every time. Just remember to always use the official in-app or desktop tools, and never share your account credentials with anyone offering to help with updates, as those are almost always scams.